Showing posts with label straight up. Show all posts

Monday, November 1, 2010

Garlic Broccoli and Chicken

Broccoli and Chicken

When my mom was teaching me how to cook, she used to simply say that basic Chinese cooking merely involves pairing meat with a veggie and sauté with garlic.  This is a perfect example of that philosophy.  It’s easy, simple, healthy and packed with garlicy flavor. 

Cook Time: 15 min                        Yields: 2-3 Servings

o      1 Head of Broccoli
o      6-8 Oz of Chicken thigh meat (w/o skin and bones)*
o      2 Cloves of Garlic finely chopped
o      Cooking Michiu (Rice Wine)
o      Salt and White Pepper powder


1. Trim the head of broccoli by cutting off each floret and peel the skin off using a paring knife.  Soak all the broccoli florets in water.

2. Cut the chicken into bite size pieces and season with a splash of Michiu, salt and white pepper powder (about a teaspoon each).


3. Heat cooking oil in a large sauté pan that has a cover.  Add the garlic and chicken to the pan and sauté over medium-high heat, browning slightly.


4. Drain the broccoli florets and add to sauté pan, toss with the chicken and salt and pepper to taste.  Add about ¼ - ½ cup of water and cover to steam for about 3 minutes.


5. Taste test one of the florets to makes sure that its cooked through but still firm.  If it needs to cook a little more, continue to sauté for a couple more minutes.  Serve with some rice or as a side dish.

    You can substitute the chicken with any other meat or seafood, such as beef or shrimp, or just cook the broccoli alone for vegetarian dish.  =)

    Wednesday, October 27, 2010

    Rosemary Lamb Chops


    Roasted Rosemary Lamb Chops


    Rosemary is so earthy and woody, it’s like the scent of the forest, and so it pairs really well with a gamey red meat like lamb.  I love the flavor of lamb, and this simple way of roasting a rack of lamb is an easy way to get my lamb fix.  Lamb isn’t typical meat that you see a lot of in most American neighborhood grocery stores, so I buy mine from Costco*.  You can get a fresh beautiful frenched rack of lamb for about $15.

    * Costco actually has a really good and fresh meat section, the problem, of course, is the massive portions they sell.  So I usually buy a package and then clean and cut up into manageable portions, place in zip-lock bags, push out the air, seal and toss into the freezer.

    Cook Time: 25 min                        Yield: 4 servings

    o      Rack of lamb chops (Frenched)
    o      2 Tablespoons of Fresh Rosemary leaves, chopped
    o      2 Tablespoons of Olive Oil
    o      Salt and Pepper

    1. Trim any excess fat off the rack of lamb. Rub with olive oil and season with salt, pepper, and rosemary on both sides.  Cover with plastic wrap and let the rack marinate in the fridge for anywhere between 30 minutes to 4 hours.
    2. Preheat oven to 350 degrees F.
    3. Take the lamb rack out of the fridge and let it come to room temp, about 10 minutes.  Remove the plastic wrap. 
    4. Coat the bottom of an oven-safe bottom heavy fry pan or skillet with olive oil and heat over medium-high heat.  Sear the lamb rack on both sides then move into the oven for about 10 minutes, depending on the size of your rack*.
    5. Using a meat thermometer, the rack should be about 140 to 150 degrees for medium rare, which I recommend because keep in mind that the meat will continue to cook for a few minutes when you take it out of the oven and let it rest for about 5 minutes.
    6. After letting the rack rest, cut between the rib bones to get individual chops.  Garnish with a little bit more of the chopped rosemary or chopped parsley.  Serve with any starch or veggies you like!  Shown here with mushroom squash risotto.

    * If you don’t want to use the oven, you can definitely cut the rack into individual chops prior to cooking and simply sear the individual chops on both sides in a pan over the stove.  This is quicker and more ideal for a dinner for two, when you only have to pan sear a few chops.  I like to roast racks in their entirety when I have to serve more than two people because I don’t want to be stuck at the stove searing chops all night.  Another advantage is that you get a variety of doneness for your guests.  You’ll notice that the center chops will be pinker in the middle and the side chops will be more medium.

    Friday, October 22, 2010

    Chicken Noodle Soup (Asian Style)

    Chicken Noodle Soup

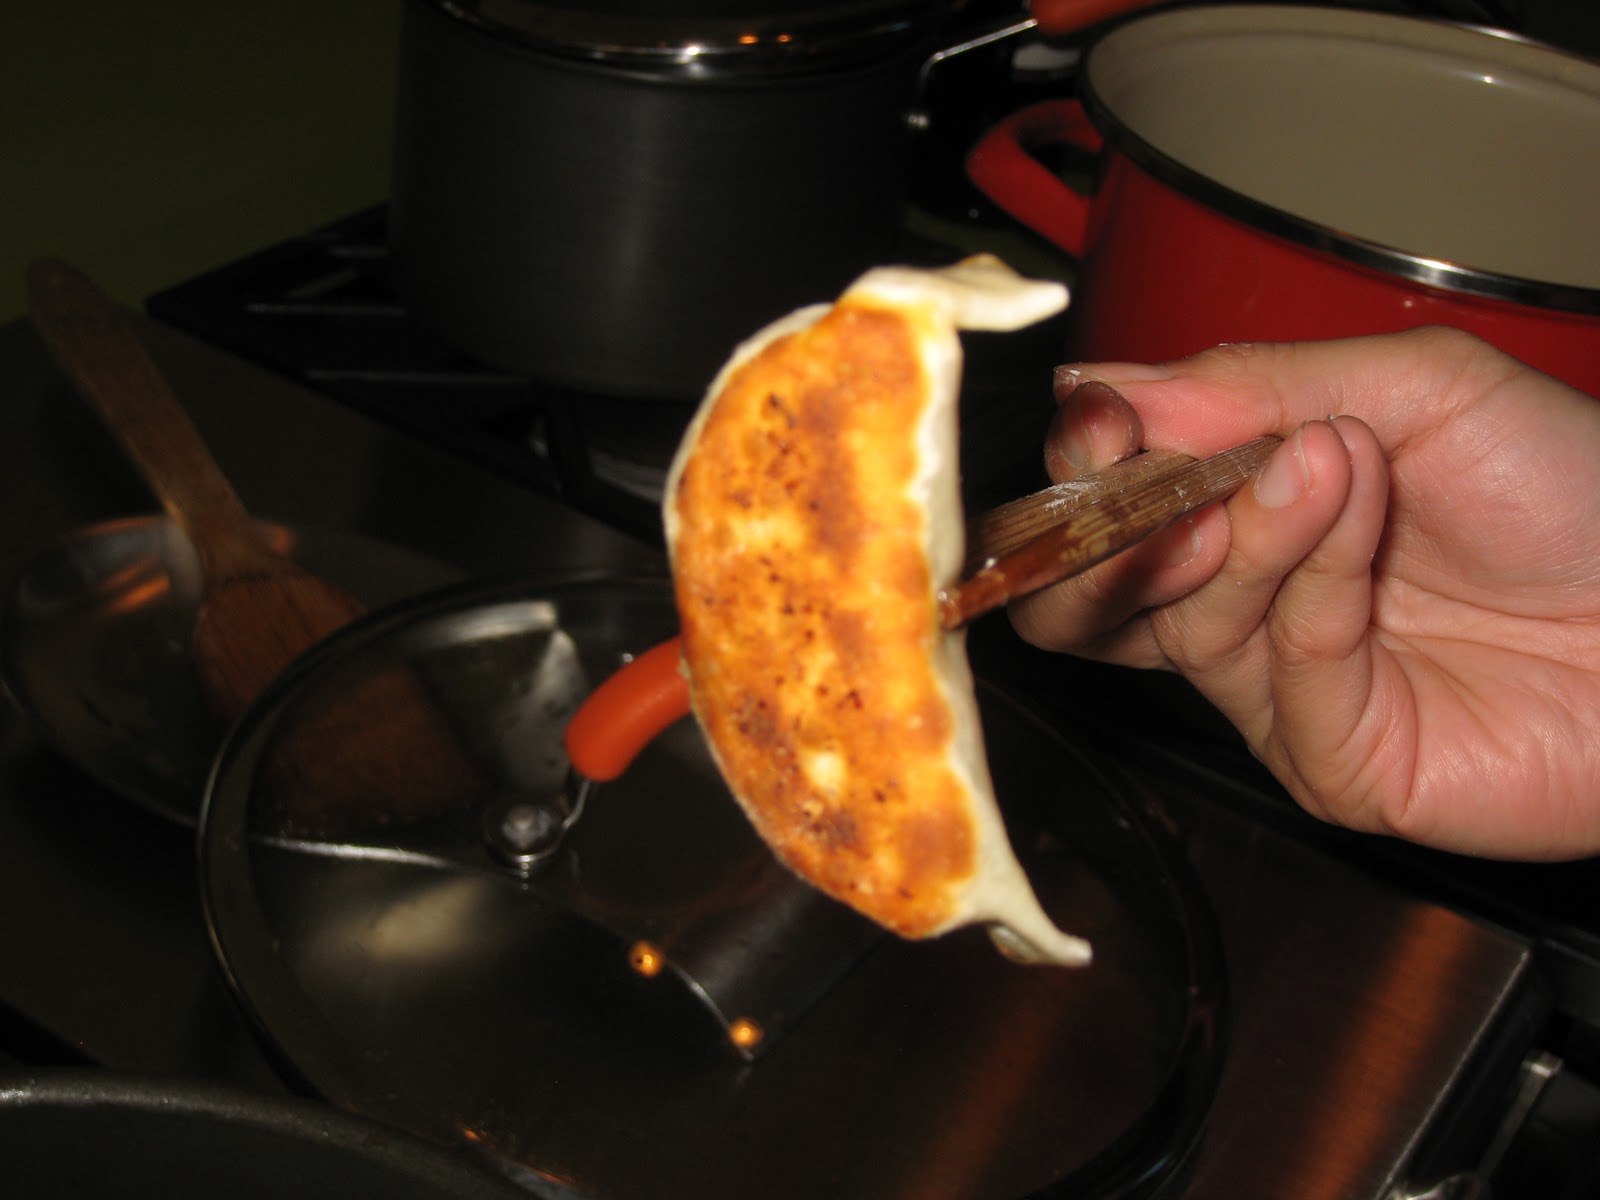
    In almost all cultures, there’s a version of this dish.  Chicken noodle soup, just saying it evokes memories of childhood and warmth.  It’s the healer of all ailments and a dish that I believe everyone should be able to make from scratch. 

    Obviously the main ingredient to chicken noodle soup is chicken stock.  I’m not talking about the store bought can or box type, but the real stuff.  The golden goodness you get from just putting water, ginger, onion, celery, carrots, and chicken bones together in a pot and letting it simmer for a whole day.  Not only is it simple, chicken stock can be used in so many dishes to add richness of flavor.  Try using chicken stock instead of water when steaming rice or in chowder or gumbo, the possibilities are endless.  The best part is that stock can be frozen in batches so you will always have it on hand when needed. 

    Talking about stock brings me to another subject or tangent, if you will, that deserves its own separate posting.  Thus a posting will follow shortly about frugality and sustainability.  Wasting not and wanting not.  Making the most of what you have.  You get the idea.

    Prep Time: 10 min   Cook Time: 4-8 hours         Yields: 8-10 cups of stock

    o      1 medium size stockpot
    o      The bones of a chicken or two (You can usually find packages of chicken, beef, or pork bones only at ethnic markets such as 99 Ranch, specifically for the purpose of making stocks.  Otherwise, you can always buy a whole chicken from the market and remember to save the bones and undesirable parts for stock when you cut out the breasts for other use)
    o      A few carrots chopped roughly
    o      A medium onion chopped roughly
    o      A few stalks of celery chopped roughly
    o      About 5 good slices of ginger
    o      Salt and white pepper
    o      4 oz. fresh noodles
    o      1 stalk of finely chopped green onions


    1. Toss the chicken bones, vegetables, and ginger into the stockpot and fill 4/5 with water.  Add a couple teaspoons of salt and white pepper powder.  Place over high heat until boiling, then reduce to low heat and allow to simmer (with the lid on but with a partial opening) for anywhere between 2-4 hours.  The longer you let the stock simmer the more flavor will be concentrated and extracted out of the veggies and bones.
    2. When done, let the stock cool then strain of the bones and veggies.  Some people discard it all but I like to eat the carrots.  Unlike the onion and celery, which have pretty much disintegrated, the carrots usually hold up after all that simmering and become a soft tasty nourishing snack.
    3. Take a few cups of the golden stock and heat in a smaller saucepan. When brought to a boil over medium high heat, add a handful of fresh noodles and let cook for a few minutes.  Taste test the noodle to the desired donenss then pour into a bowl and sprinkle with the green onions. 
    4. Add salt and pepper as desired to taste. Then allow your body to be enriched and soothed. Enjoy.

    Chinese Vegetable, Shrimp, and Pork Dumplings


    Vegetable, Shrimp, and Pork Dumplings

    This is one of those classic Chinese dishes that you are likely to find in the freezer of most Chinese families.  These dumplings do take time to make and is a feat that should be taken on when you happen to have some time on your hands, but trust me, they are worth it!  Usually made in a pretty big batch then tossed in the freezer.  Its the perfect dinner solution for the busy parent on a weekday or the student who wants a quick homecooked meal.  Grab a portion out of the freezer, toss in boiling water or pan fry and voila! you've got yummy dumplings!


    Prep Time: 60 min             Cook Time: 10-15 min              Yields: 10-12 Servings (120 dumplings)
    • 2 lbs ground pork
    • 1 lb Shrimp (w/o shells and veined)
    • 1 bunch of Chinese chives
    • 2 stalks of green onions
    • ½ a head of Napa cabbage
    • 1 Egg
    • Soy sauce
    • Sesame oil
    • Salt
    • Ginger
    • White pepper powder
    • Rice cooking wine
    • Garlic cloves
    • Rice wine vinegar
    • Sriracha chili sauce
    • Round Dumpling wrappers (available at any Asian or specifically Chinese grocery store in the refrigerated aisle)


    Preparation:

    Dumpling filling - Ultra finely chop the shrimp, chives, green onions, and cabbage.  Use a cheese-cloth to strain/squeeze out all the moisture from the finely chopped cabbage.  Add all finely chopped veggies, grated ginger (2 teaspoons), and shrimp to ground pork in a large bowl.  Add soy sauce (approximately 3 tablespoons), sesame oil (approximately 1 tablespoon), a few splashes of rice cooking wine (approximately 1 tablespoon), one egg, a pinch of salt and a couple teaspoons of white pepper powder.  Mix well.
    * You can always substitute the different meats in the filling, you can even make a veggie version but using tofu instead of meat.  If you don't want shrimp, you can make it solely from ground pork, or ground chicken, or even ground duck.  Make it the way YOU like it.


    Dumplings – Have a small bowl or cup of water set aside.  Take a dumpling wrapper in the palm of your hand and fill with about 1 tablespoon or less of filling, the amount depends upon the size of the wrapper and just comes with experience.  Wet the inner edge of the dumpling wrapper, fold over, and pinch the edges together to form a creased pleat, sealing the dumpling.  Continue until the entire filling or all the wrappers are used.  This amount of filling should yield about 120 dumplings.


    View a video of "how to make dumplings"


    Dipping Sauce – Smash the garlic and remove the skin.  Add the garlic, fine ginger slivers, soy sauce, rice wine vinegar, and chili together in a small bowl.  There are no exact measurements, these ingredients are all to taste.  The main ingredient should be the soy sauce and the vinegar is generally just a teaspoon or so.

    Cooking:

    Boiled - Heat a large pot about 2/3 full of water to a boil.  Drop in the dumplings, depending on the size of your pot, about 20 dumplings at a time.  You don’t want the pot to get too crowded otherwise the dumplings will stick together.  Lightly stir the dumplings a couple times just to make sure they aren’t sticking to the bottom of the pot.  Let the water come back up to a boil then add 1 cup of water.  Let the water come back up to a boil again and add another cup of water.  When the water comes to a boil again, the dumplings should be floating to the top, this indicates that they are done.  Remove the dumplings from the pot into a serving dish with a strainer or large slotted spoon.  Enjoy by dipping into the sauce one at a time. 


    Pan-Fried (Pot Stickers) – Although it is not necessary, it is usually better to freeze the dumplings when pan frying them.  Coat the botton of a large non-stick frying pan with vegetable oil (about 1-2 tablespoons).  When the oil gets hot, turn the heat down to medium-high and add the dumplings one at a time with the ruffled/pleated edge facing up.  Cover with a large lid and let it fry for a few minutes to slightly brown the bottoms then turn the heat down to medium-low and add about ¼ cup of water and cover again.  Give the pan a little shake once in a while just to loosen the pot stickers from the bottom of the pan.  After cooking about 5-10 minutes it should be done, the bottoms of the dumplings should be golden brown.  Take one and cut it open to make sure it is cooked through.  Then remove onto a serving tray and enjoy by dipping into the sauce one at a time.